


You are probably already using Laravel when you read this, that means you are already using Packagist too, but might not be aware of it. In this guide you will learn how to deploy your own Laravel packages to Packagist.
Packagist is the platform behind Composer acting as the library. When you are searching for a new package for your project, you are probably doing this through Google, which works perfectly fine and I do so as well. But in fact you could do an even more targeted search on Packagist.org.
The steps
But how does Packagist work? Let’s split it into the steps necessary when creating a package for others to install through Composer:
- Developing the package itself
- Hosting it on a git platform, Github will be the easiest
- Submitting the repository to your Packagist account
This article will not be covering how to develop a package, if you are interested in that part I can recommend my article I wrote for Hashnode: Laravel Package – How to build and deploy
There you will also find a brief description of deployment, but that will be covered in more details here.
Push to Github
If you already know how to push your package to Github, you can skip this step.
First you must create your repository on you Github account https://github.com/new . Rememeber it must be public in order to work with Packagist.
As Github states you must initialize your repository on your computer and push the files to Github.
git init
git commit -m "initial draft"
git remote add origin git@github.com:<account>/<repository>.git
git push -u origin master
Submitting to Packagist
Navigate to Packagist and click Submit https://packagist.org/packages/submit and enter the URL of your repository
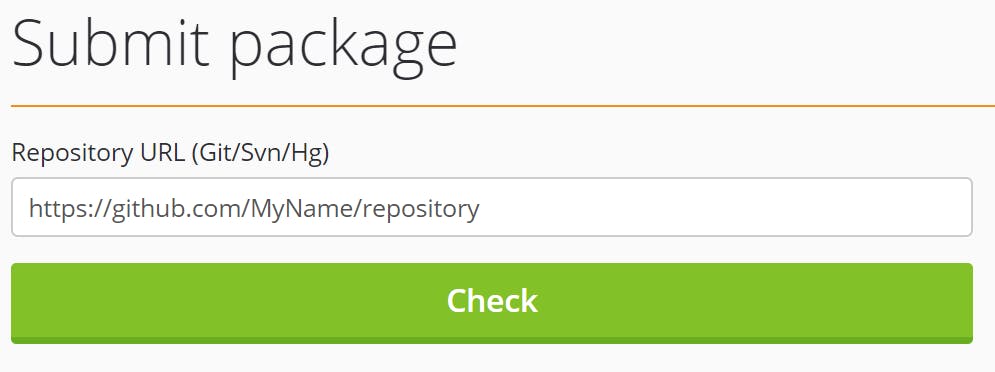
Click check and submit.
Failed to submit
If you are receiving errors concerning composer.json this means you have an invalidate or missing the file in the root of your repository. The base of composer.json should contain:
{
    "name": "MyName/repository",
    "authors": [
        {
            "name": "Firstname Lastname",
            "email": "email@address.com"
        }
    ],
    "require": {}
}
This can be created in your package with the command composer init and validated with composer valid.
Github webhook
The last step is to add a webhook to your Github repository in order for Packagist to be pinged every time you update your package.
Go to your repository’s Settings, then Webhooks and Add webhook
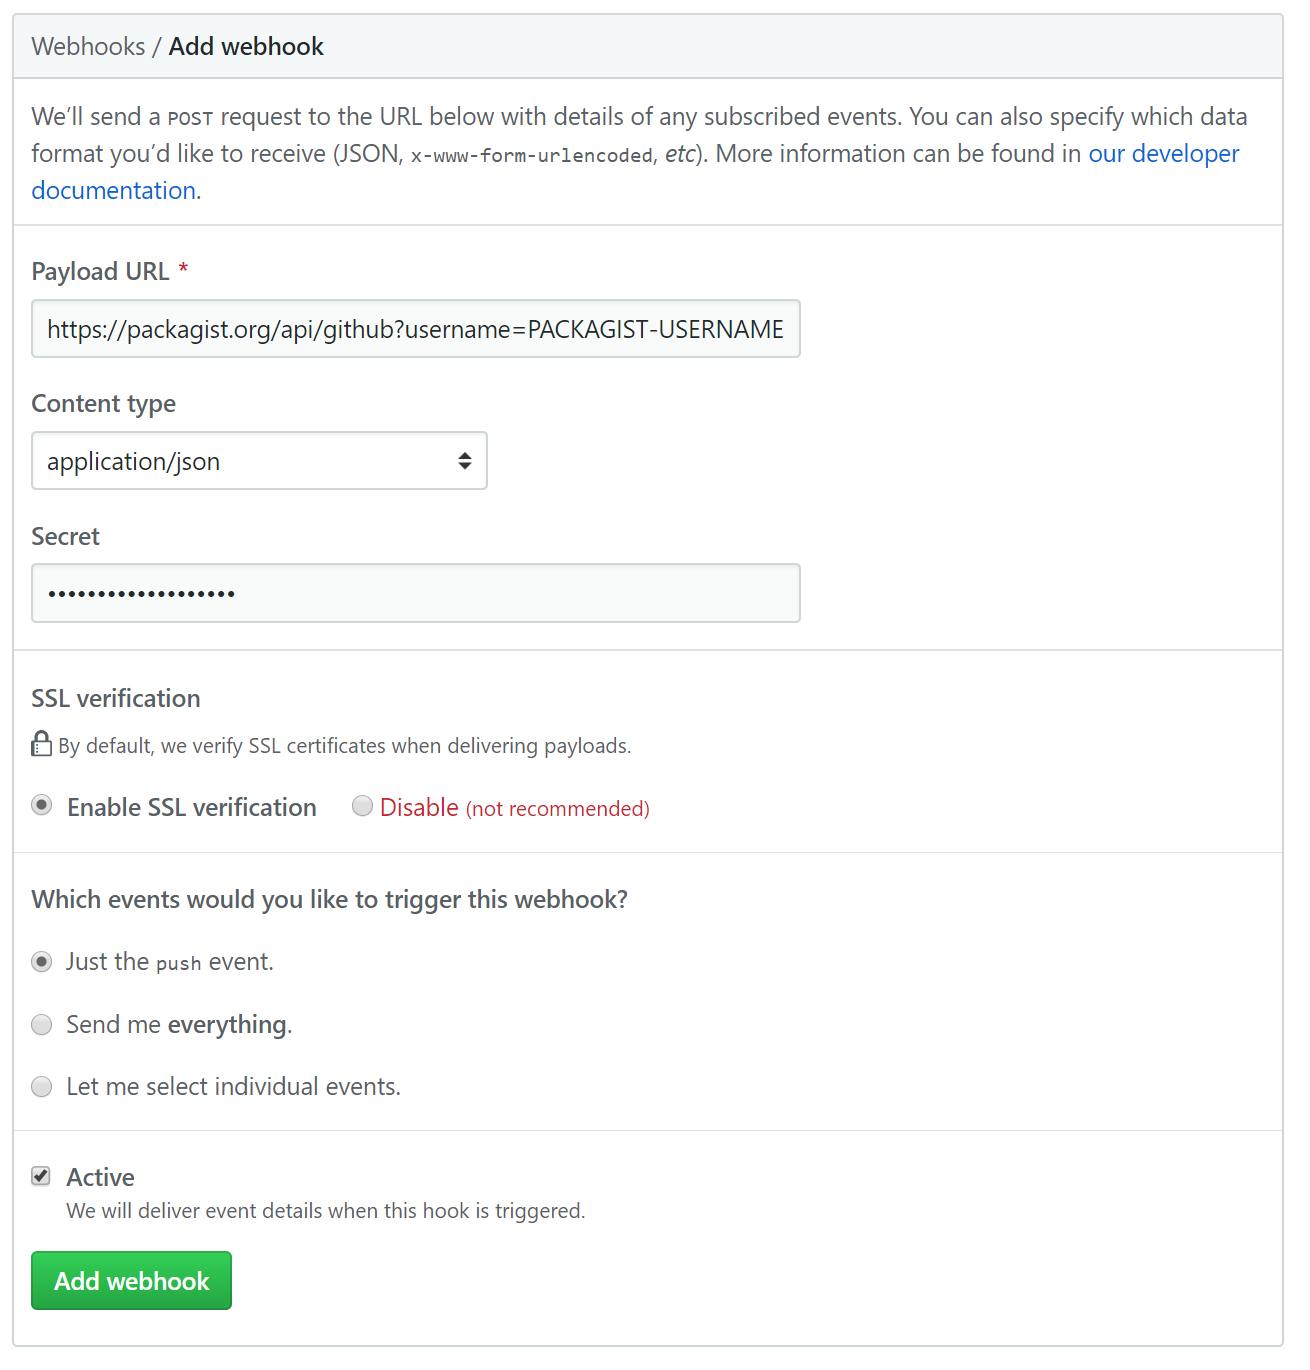
Remember to update your username in the Payload URL parameter.
Your unique Packagist token can be found at your profile: https://packagist.org/profile/
Your package can now be installed by others
composer require your-github-name/your-repository-name
Versioning
Packagist uses Git tags as version indicator. This means you could start your first tag as 1.0.0 then 1.0.1 and so on. Read more about semantic versioning at https://semver.org/
To add a tag and push the tags to your repository use the --tags parameter when you push
git tag 1.0.0
git push --tags
This can be a challenge in the beginning to keep up which version to tag. To list the tags used for a repository use the command without a value
git tag
A graphical tool such as SourceTree can also be useful when managing tags, but everything can be done from the command line, of course.
You are now set to share your packages with the world.